
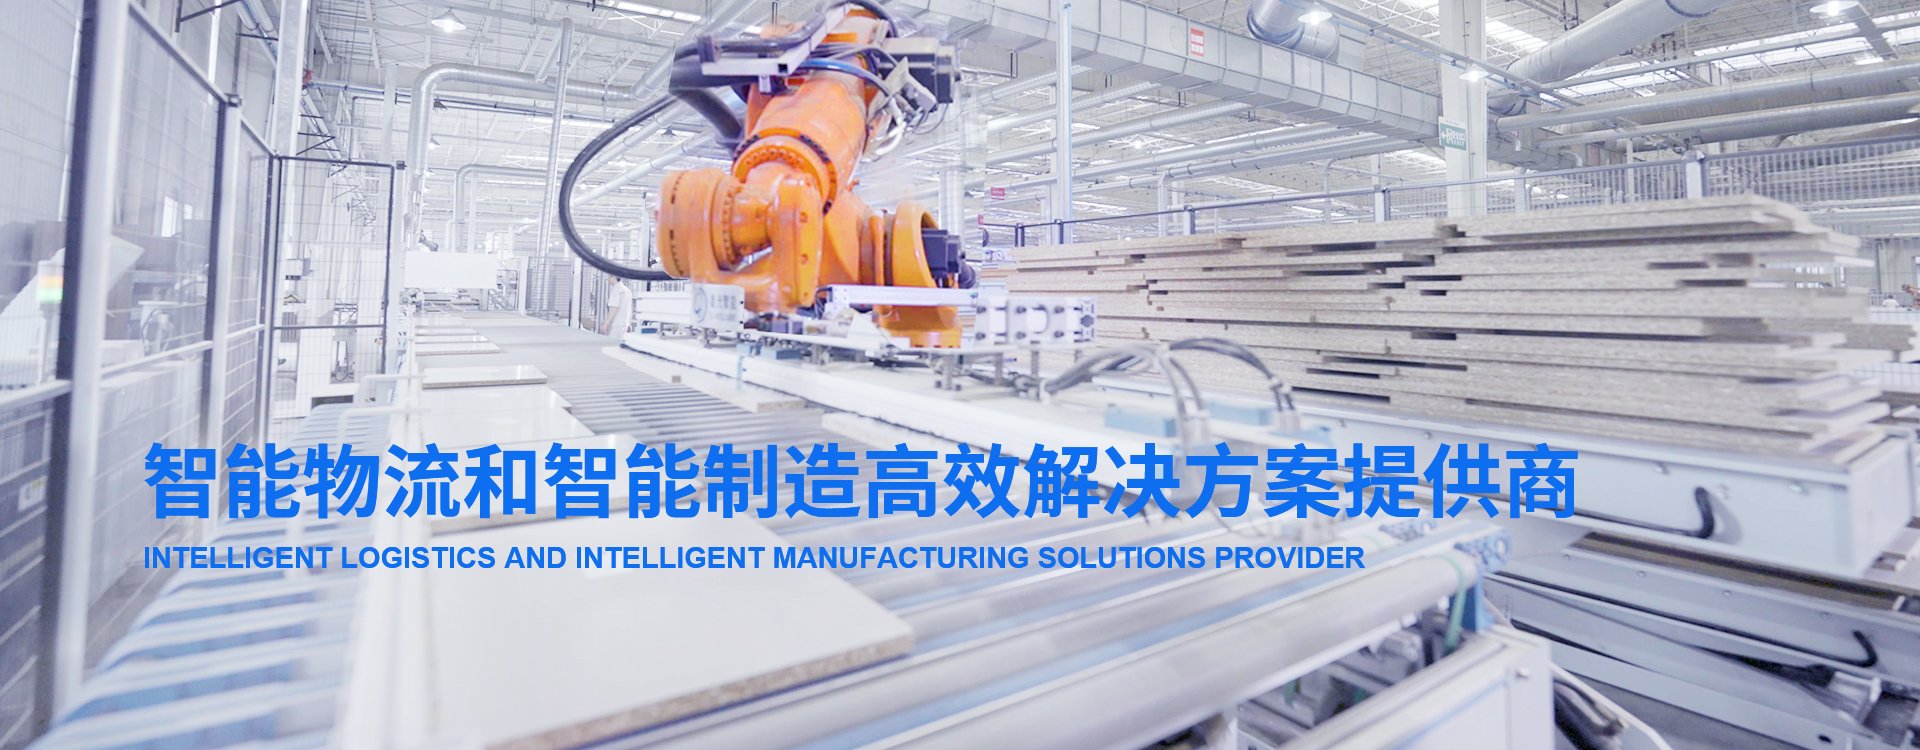
打造智能物流、智能制造标杆产品
聚行业精英,创世界品牌
主要工作内容:数据分析、目标设计、数据确定、作业流程确定、多套概念方案评定、设备选型、信息系统选型、结合建筑条件确定最终方案等核心流程。
具体内容包括:现状瓶颈分析、未来需求分析、数据分析、方案设计、土建设计配合、消防设计配合、设备选型及配置、设备生产、现场安装调试、软件系统测试安装、系统操作培训、系统上线等一系列的系统集成和工程集成。
我们拥有目前市场需求的多系列智能物流装备的研发制造及集成能力;同时为智能制造系统定制研发生产客制化智能装备。新利体育app官网下载智能三大明星产品:堆垛机、交叉带分拣机、输送系统。
我们新利体育app官网下载的软件研发团队,可定制化开发智能物流、智能制造系统相关数据服务软件,已开发了生产管理系统、仓库管理系统、仓库控制系统、分拣控制系统、路径控制系统等。我们的软件框架和技术是开源性的,具有灵活的配置性和扩展性,满足客户需求。
具备丰富的项目管理经验和供应链保障资源,具有高质量、高效率的项目交付能力。可为客户提供包括现场安装、调试及测试在内的系统集成服务,完成全套系统解决方案的交付。
我们拥有丰富的项目管理经验和供应链保障资源,为客户提供7*24小时全生命周期立体化服务体系,我们也提供有偿售后服务,能快速、准确的响应客户需求。
致力于智能物流和智能制造的创新发展
新利体育app官网下载(中国)科技有限公司是一家自有核心技术与产品的智能物流和智能制造解决方案提供商,能够定制化提供智能物流领域的智能输送系统和智能分拣系统,智能制造领域的智能仓储系统和智能工厂系统及数字化软件系统。业务范围涵盖企业数字化咨询、项目方案规划、专业系统集成、设备研发制造、软件研发实施、现场安装调试以及持续售后服务,已交付500+大型集成类项目,帮助客户实现从物流、仓储到整体工厂三位一体的自动化、智能化升级,达成精益生产、降本增效、数智化转型的目标。
致力于成为全球领先的智能物流及智能制造解决方案提供商之一
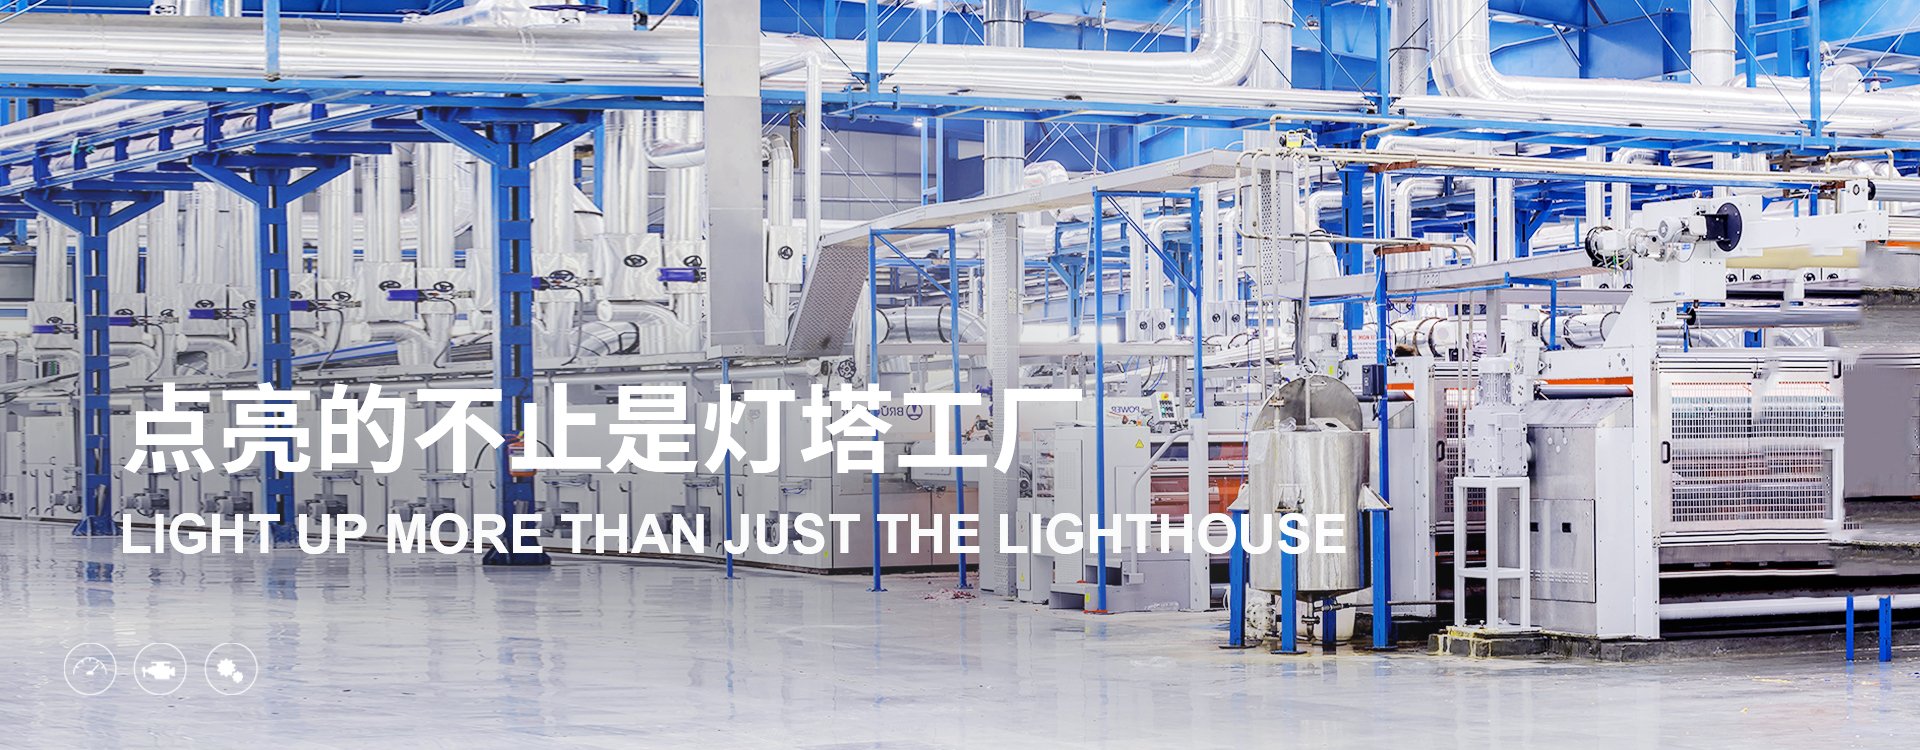
智能工厂解决方案针对企业的数字化、智能化转型,提供自有核心技术的智能仓储系统,通过自主研发的智能制造平台(MES+SCADA)及智能物流平台(WMS+WCS)与客户端数据交互集成,与其设备、终端等进行生态组网互联,实现业务流、信息流、物流的透明可视化和生产制造的柔性提升,提供多维度精准数据分析,支持经验决策迈向智能决策。
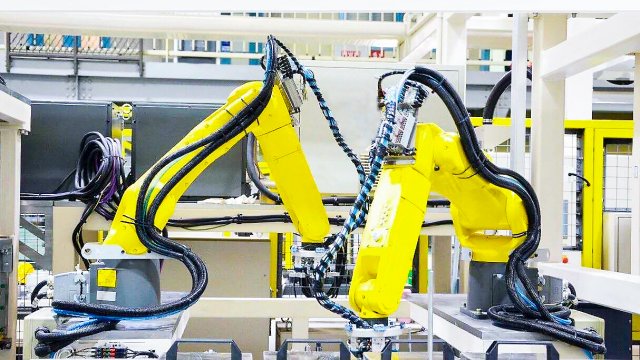
新利体育app官网下载智能的新利体育app官网下载源解决方案覆盖新利体育app官网下载源三电领域,通过智能化物流仓储技术、高柔性的自动化装配解决方案,结合机器视觉涂胶焊接等定制化自动化设备技术与系统集成解决方案,提供产配一体的自动化交钥匙工程。
智能仓储解决方案是为企业仓储智能化升级提供的以自动化立库系统和密集存储库系统为代表,给予物料智能化出入库、拣选及库存管理的专业解决方案。能够有效提升客户存储空间利用率,降低储运损耗和人工成本,实现库存物料最经济、合理、有效的流动,主要应用于各种原材料、半成品、成品存储管理。
智能物流解决方案包括智能输送分拣解决方案和智能配送中心解决方案,针对客户输送、分拣、配送等业务环节,达成复杂工况下的自动感知、高效输送、精确分拣与智能管控,降低人工成本和劳动强度,实现物流的高度自动化和智能化。
智能信息化解决方案是专注于工厂、新利体育app官网下载源、仓储和物流业务,搭配智能工厂解决方案、新利体育app官网下载源解决方案、智能仓储解决方案和智能物流解决方案规划及核心自研设备,为客户生产执行、仓储管理、输送分拣、物流搬运及设备运维等环节提供一系列信息化软件的专业解决方案,基本满足并解决多行业客户信息化需求。
十余年打磨标准化流程,保证商品安全和用户体验
新利体育app官网下载行业前沿的科技和信息
十余年打磨标准化流程,保证项目交付和用户体验
COPYRIGHT ©2018 新利体育app官网下载(中国)科技有限公司 版权所有